|
What you will need
2 small or medium safety pins
Your clean show coat hanging on
a coat hanger
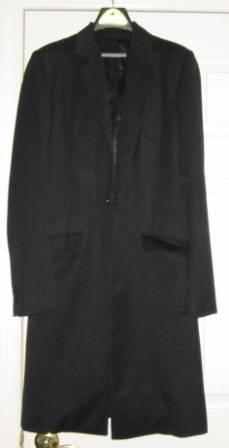
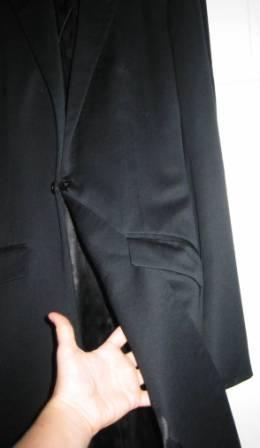
With your coat hanging straight
on a hanger with the front of the coat facing you make sure the pocket flaps are out of the pockets and that the coat is buttoned.
| Start with coat hanging on a hanger. |
|
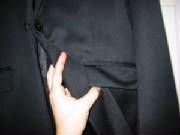
| From the button pull the coat back |
|
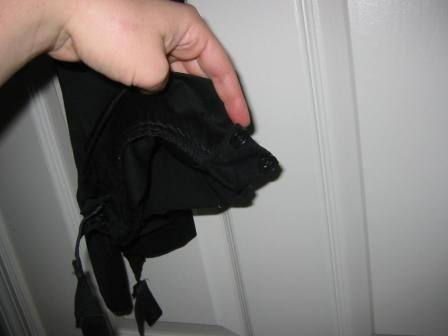
| under the pocket flaps |
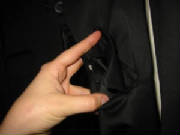
| Pin the inside of the pocket |
|
| Focus the pin so its to the top of the pocket and |
|
| more to the inside |
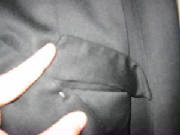
| Make sure the pin does not show |
|
The point is to hold
the flap back but to let the coat flow. May take some practice so make sure you
practice before the show or give yourself enough time when getting ready to get this done.
When your class is over make sure to take pins out to prevent holes in your coat.
What you will need
2 large diaper pins (large thick
safety pins)
A helper
Clean show jods with forked underpasses
First put on your jods and boots
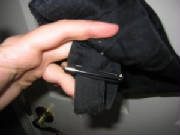
(tape if needed). Button the outside tie down with the shortest fork to the front. Sit down and straighten your leg out. Have
a helper pull your pant leg down and tighten the underpass and pin it on the button flap on the inside of pant that lies against
the horse. Make sure the extra underpass is going up the leg.
| Button Flap on the inside of pant |
|
| that lies against the horse |
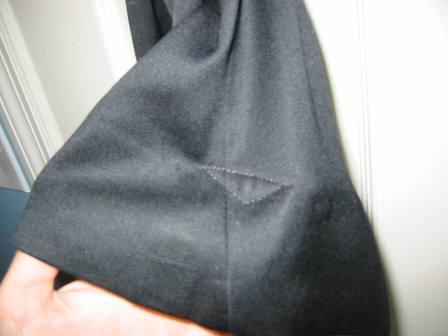
| Pull it as tight as the pants need to stay down |
|
| Can't even tell |
|
How To Tape Your Gloves
What you will need
Clean show leather gloves
Matching electrical tape (black
for black, navy and dark brown, white for white and light colored gloves)
Scissors
Put your gloves on. Fold the wrist of the glove on the inside of your wrist with the fold face to the ground, tightening just
enough to have a smooth line but loose enough to be comfortable and have circulation.
Tape and cut with scissors.
What you will need
Clean show shirt
White electrical tape
With gloves on have your sleeves
buttoned and pull over the wrist making sure that at least the tape on the gloves is covered.
Now tape the shirt a little behind the wrist. When you are putting your
coat on make sure to pull your shirt cuff out from the coat sleeve.
How To Cut a Perfect
Back Number (rounded corners)
What you will need
Your number
Scissors
Pencil
A roll of electrical tape
Something with a straight edge
that has some length like a foot long ruler or a clipboard edge
First take the hanger off of the
back. Then hold the roll of tape up to the corner and trace the curve with the
pencil. With the scissors cut the traced curve. If
you want to reduce the size use your finger width or bend your finger using the middle bone and mark the spaces with the pencil,
this is just to make sure there is equal amount of white around the number, then make a straight line with the straight edge
and pencil. Cut with scissors. If
you do it right at the first show you can keep the number and use it as a template for the rest of the year. Remember
to remove the metal hanger. If you have to use a metal cutter then just fold it and try to flatten it as much as possible.
| Place tape on corner for an always perfect curve |
|
Where is the correct place to pin your show number?
You want to pin your number about 4 inches below the bottom of
your collar between your shoulders. It helps straighten your shoulders and makes a sleek line.
How to Tape your Boots
What you will need
Electrical Tape
Scissors (if you don't want to pull the tape)
Edge of a chair, trunk, anything that will allow you to press your heels
down
Procedure
With boots on place the ball of your foot on the edge and press your heels
down. Tuck the boot's tab into boot. Starting the front of the boot tape around the top of the boot to bring the back of the
boot closer to leg. Check to make sure tape is not too tight and comfortable. The reason for doing this is when the
rider's heel drops down the boot doesn't not stick out. This creates a nice flat line to the rider's leg.
|